How to Enable DDoS Protection and CDN with Cloudflare on your Website
Cloudflare is a global content delivery network (CDN) provider that also offers free protection from distributed denial-of-service (DDoS) attacks. You can use their services to mitigate DDoS attacks against your website or if you want to use a globally available CDN to serve your content.
We will use "example.org" as the domain name for this guide. You should, of course, use your own domain when making changes.
Origin SSL Certificate
Before you enable Cloudflare's service for your website, we recommend that you first set up an SSL certificate for your website. If your hosting plan supports free Let's Encrypt certificates, you can enable one on the SSL/HTTPS page of the Control Panel of your hosting account.
You should have in mind that the wildcard option does not work when you use Cloudflare, and you should only enable certificates for the individual hostnames. Usually, this is "example.org / www.example.org", "mbox.example.org", and any additional subdomains you may use.
Setup at Cloudflare
First, you have to sign up for a free Cloudflare account on their website. After your account is ready and verified, you should click on the "+ Add Site" button.
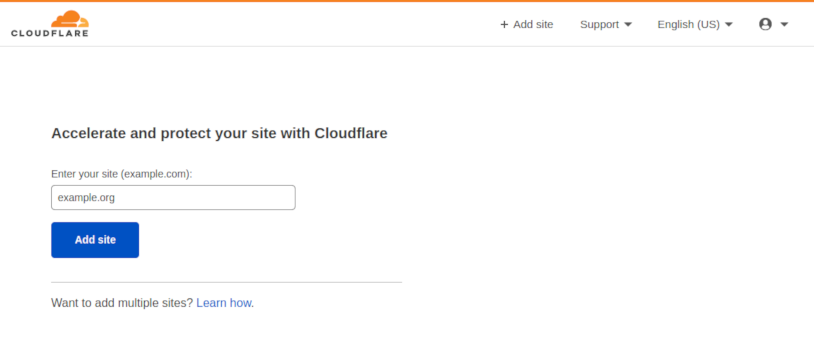
Enter your domain (without the "www" part) and click on the "Add site" button:

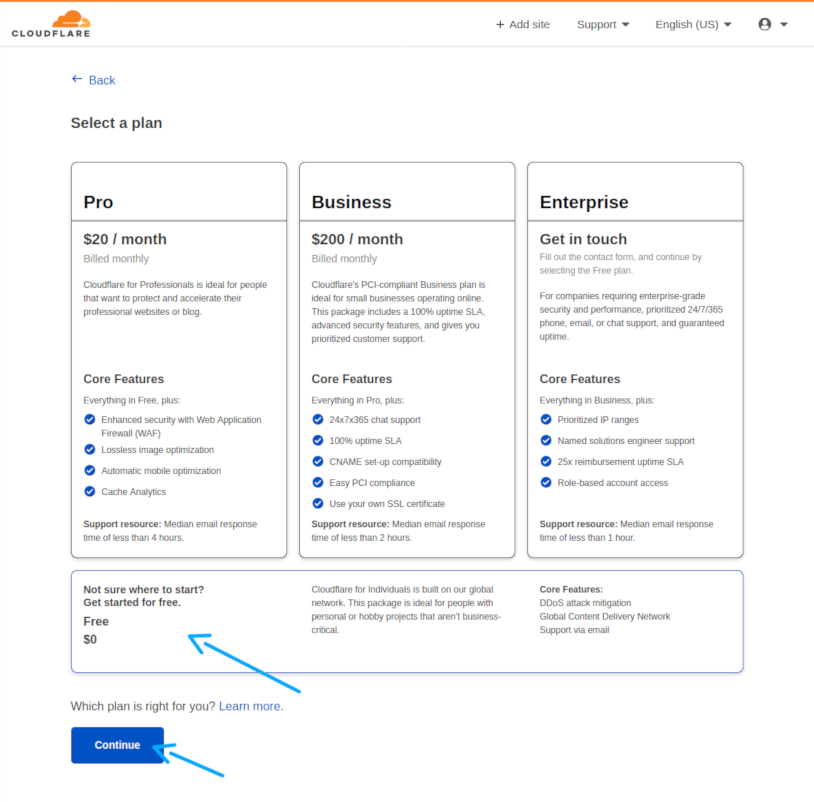
On the next page, scroll to the bottom, choose the "Free $0" plan and click "Continue":

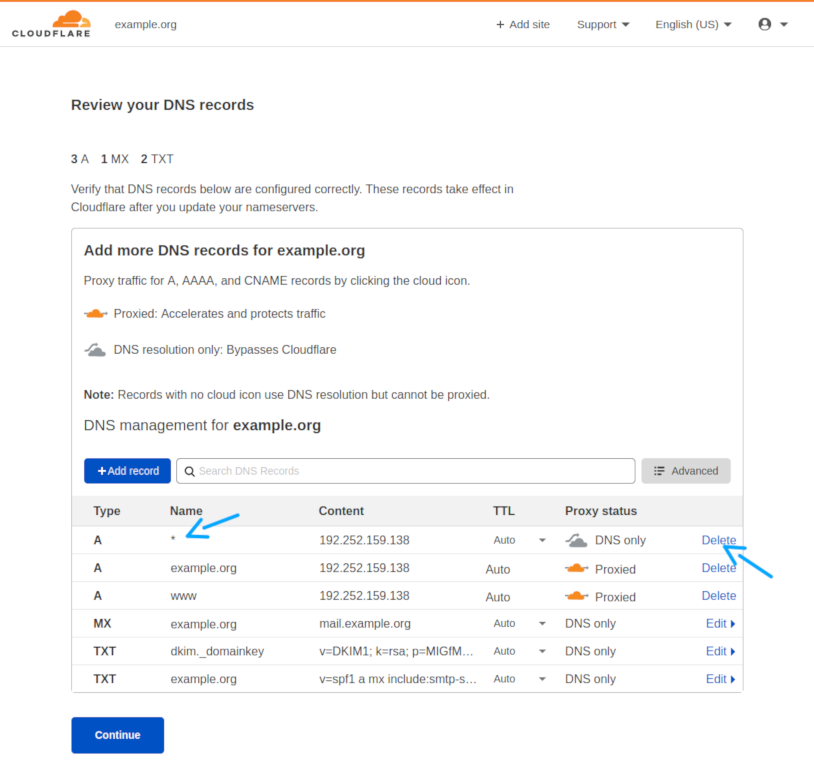
Cloudflare will scan for your existing DNS records and will show you a sample configuration that you can modify further:

You should delete the default wildcard record (the one for "*" at the top). It could leak the IP address of your origin website on our servers, and this may allow hackers to bypass the DDoS protection of Cloudflare if your site is under attack. Instead, you should add separate A records for each subdomain that you use.
If your email is on our servers, you should now click on the "+ Add record" button and add an A record for "mail" that points to the IP address of the server:

The IP address is available on the side pane of the Control Panel of your hosting account under "IP Addresses". When you are done, you should click "Continue".
You will now have to change the name servers of your domain. If your domain name is registered with us, you can use the administrative panel for your domain to change them. If you are not sure how to do that, please contact the support team.
After that, Cloudflare will ask you to make some additional security and performance-related changes. These changes are optional and you can skip them. If you want to take a look at those, here is a summary:
- Improve security
- Automatic HTTPS Rewrites - You can safely enable this setting.
- Always use HTTPS - You can safely enable this setting.
- Optimize performance
- Auto Minify - We would recommend that you leave these settings disabled for the time being. They have the potential to break some things, and since your domain's name servers were just recently changed, you may not immediately detect such problems. They would only occur for some visitors.
- Brotli - It should be safe to enable Brotli compression.
Finally, review the summary and click "Finish". If you have followed our recommendations, you should have the following options enabled:
- Automatic HTTPS Rewrites: ON
- Always use HTTPS: ON
- Auto Minify: NONE
- Brotli: ON
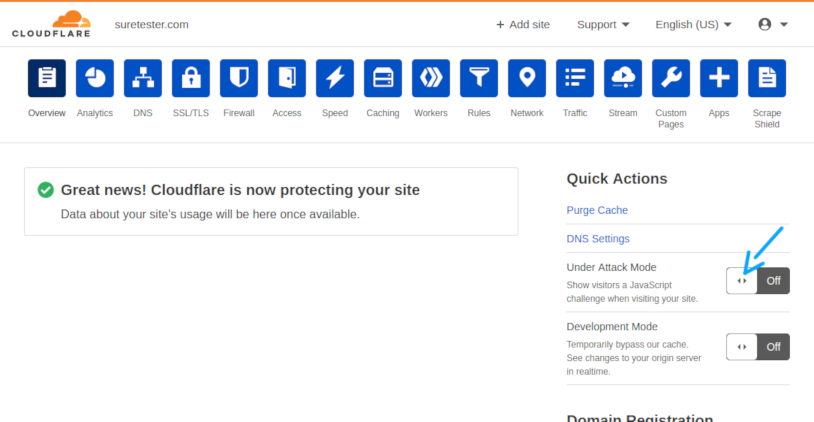
After you finish, you should see the Overview screen of your site at Cloudflare.
You should have in mind that the DNS configuration of your domain is now hosted by Cloudflare. If you want to modify your DNS records, you won't be able to do so using the DNS Manager of the Control Panel. Instead, you have to make all DNS changes at Cloudflare.
DDoS Protection
If your site is currently under attack, or you have been advised to do so, you should now enable the "Under Attack Mode" toggle available on the Overview screen:

You are done!