Adding MX records
| DNS records added via the DNS Manager section of the Control Panel take effect only when the domain name uses the DNS service of your hosting account. |
To add a MX record, you should:
- Go to the DNS Manager section.
- Click on the Create button to the right of the interface.

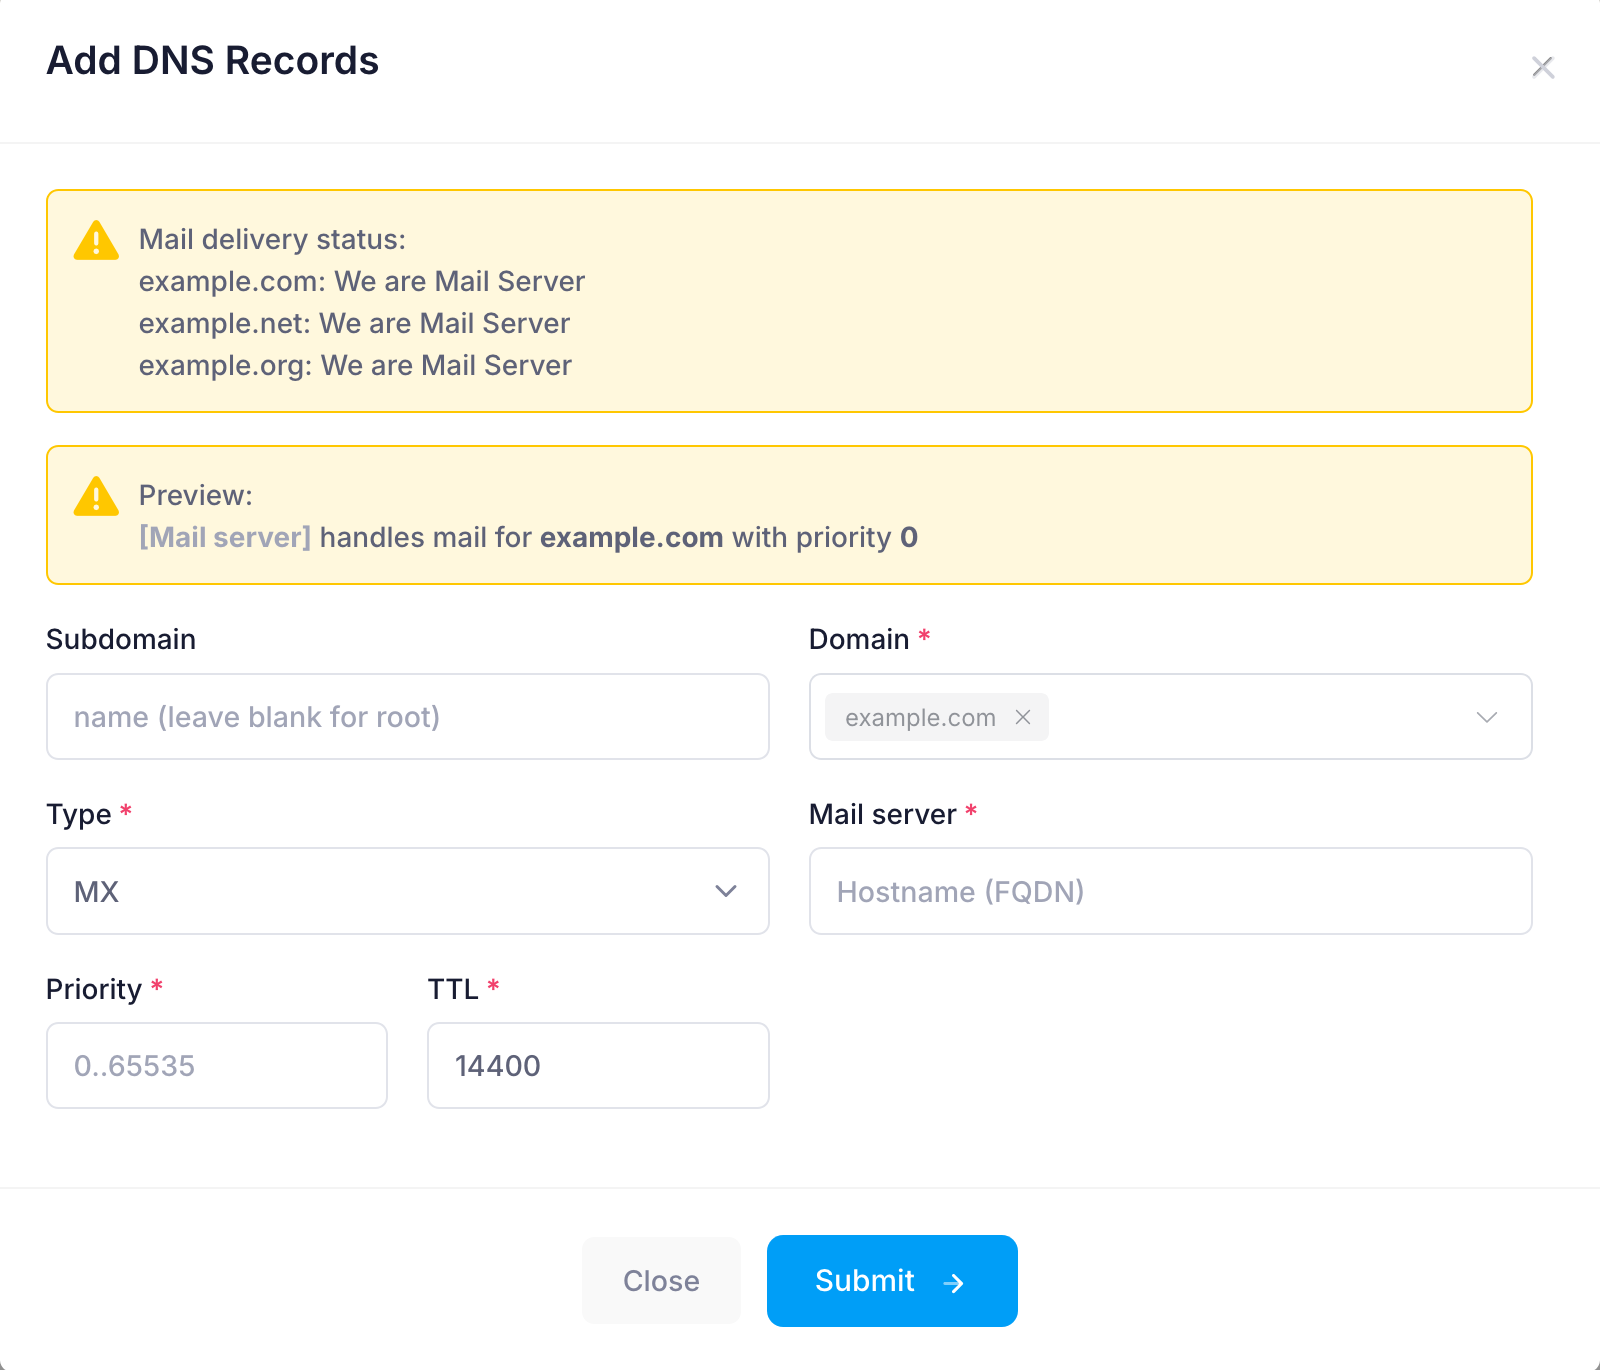
- Fill in the following fields:
Subdomain: Type the name here (e.g., "www" for www.example.com). Leave blank for example.com.
Domain: You can choose to apply the changes to one or more domain names through the Domain selector.
Type: Choose MX from the drop-down menu.
Mail Server: Type in the hostname of the mail server (e.g. smtp.google.com).
Priority: The default value is 0. MX record priority determines the order in which mail servers are tried for email delivery, with lower numbers being attempted first.
TTL: This is the time-to-live value of the record. The default is 14400 seconds. We would recommend leaving the default in most cases.
- After applying all values, click on the Submit button.